Concrete vs paver cleaning: which method works better
⏱️ 7 min read · Last updated: 2026
Concrete and pavers need different cleaning methods because they’re built differently. Concrete can handle higher pressure, while pavers need lower PSI and re-sanding after washing to stay stable. Use the wrong approach and you can damage the surface, remove joint sand, or shorten the life of the driveway.
- Concrete safe pressure: 3,000–4,000 PSI for deep cleaning; 1,500–2,000 PSI for regular maintenance
- Paver safe pressure: 60–80 PSI maximum; surface cleaner attachments are mandatory to avoid cracking
- Polymeric sand cost: $50–$150 per 50-pound bag (covers 300–500 sq ft depending on paver spacing)
- Re-sanding timeline: Required 48–72 hours after paver pressure washing; skip it and joint gaps widen by 1⁄4 inch within 3–4 weeks
- Cleaning timeline difference: Concrete: 2–4 hours for a typical driveway; pavers: 4–6 hours plus drying time for re-sanding
The real difference between concrete and paver cleaning
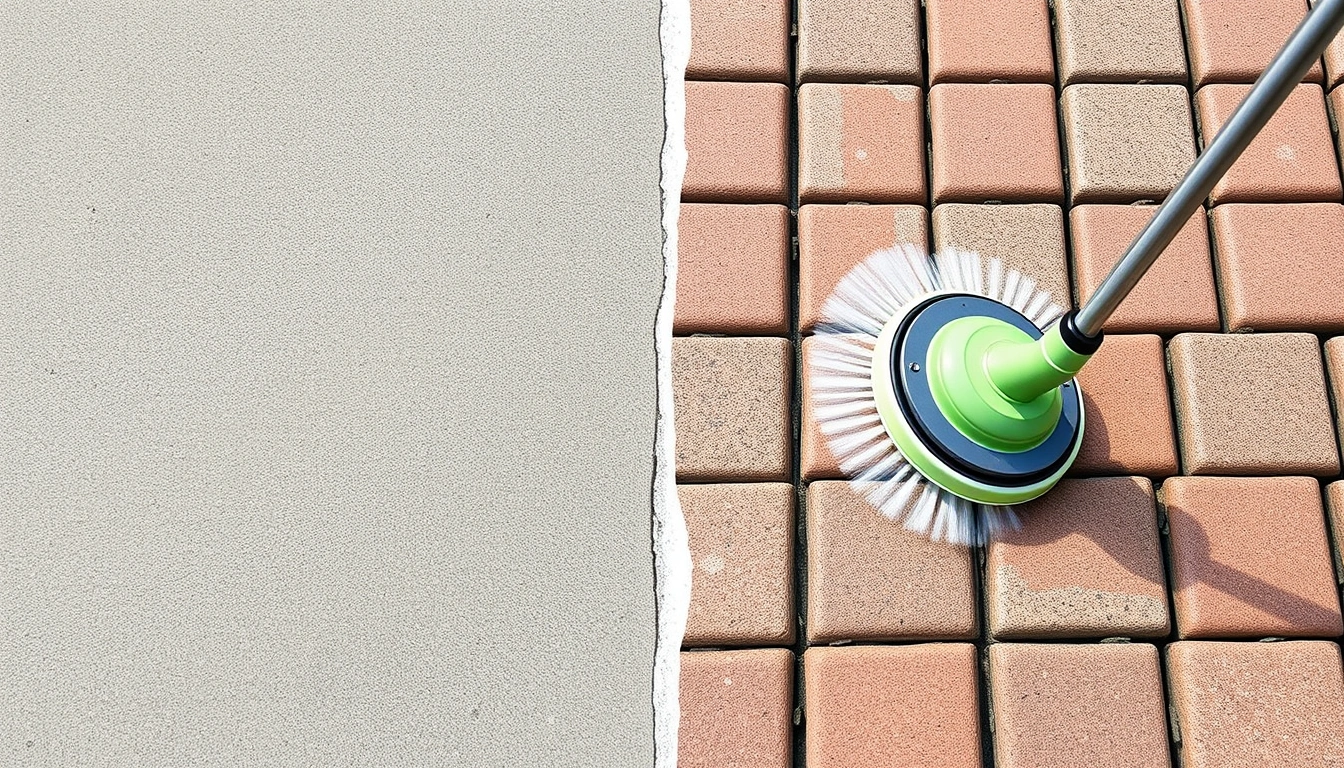
From a distance, concrete and pavers look interchangeable. Up close, they couldn’t be more opposite. One is a continuous slab. The other — individual stones resting on sand, held in place by joint material.
And that distinction changes everything about how you wash them. A slab takes serious pressure. But pavers? Hit them with the same force and they’ll crack, shift, or lose their joint sand.
I learned this the hard way in Albany last year. One pass at 3,500 PSI cleared a concrete driveway — years of buildup, gone. Six feet over, identical pressure shattered two paver edges before I could shut the machine off.
Most damage traces back to one of three errors: blasting pavers with concrete-level pressure, avoiding paver cleaning out of fear, or skipping re-sanding afterward.
For driveway cleaning in Albany, matching the method to the surface isn’t optional. It’s everything.
Can I pressure wash pavers the same way as concrete?
Short answer: no. Pavers sit on loose sand and depend on joint material for stability. Concrete doesn’t. Treating both identically is asking for trouble.
Blast pavers at 3,000+ PSI and you can crack or displace them within a pass or two. You’ll also strip the polymeric sand from the joints — gutting the entire surface’s integrity from the ground up.
The right approach: 60–80 PSI with a surface cleaner attachment. That nozzle spreads water evenly, so no concentrated jet digs into the joints and tears them apart.
Concrete is a different animal altogether. It typically needs 3,000–4,000 PSI. Drop below 2,000 and you’ll scrub harder while leaving stains untouched.
| Factor | Concrete | Pavers |
|---|---|---|
| Safe PSI Range | 3,000–4,000 | 60–80 |
| Required Attachment | Standard nozzle (not required) | Surface cleaner (mandatory) |
| Joint Risk | None (no joints) | High if pressure or technique is wrong |
| Re-sanding Needed | No | Yes, 48–72 hours after cleaning |
| Drying Time | 2–4 hours | 48–72 hours (before re-sanding) |
| Cleaning Time (100 sq ft) | 20–30 minutes | 45–60 minutes |
| Stain Risk Post-Clean | Low | High without polymeric sand refresh |
Concrete: the right PSI and why it matters
Hard, dense, and forgiving — that’s why concrete handles 3,000–4,000 PSI. Anything below 2,000 usually just rinses the top layer. The embedded grime stays put.
But stain type shifts the numbers. Everyday grime and algae? 3,000 PSI does the job. Oil stains are pickier — you’ll want 3,500–4,000 PSI and a degreaser applied first.
How old the concrete is matters too. Slabs poured before 2005 tend to be denser and tolerate 4,000 PSI better than newer air-entrained mixes. Not sure? Test a small 3×3 foot patch at 3,000 PSI, then check it again 48 hours later.
Existing cracks, surface wear, and nozzle distance all matter too. Push the wrong combination and you’re etching lines into a slab instead of cleaning it.
Concrete can handle 3,000–4,000 PSI, but the outcome depends on PSI, distance, nozzle type, and the concrete’s age. Get it wrong, and you’re not cleaning—you’re damaging.
Pavers: the missing step everyone forgets
Washing pavers is only half the job. Real protection comes after — when you restore the joints with polymeric sand.
Here’s what that stuff actually is: manufactured sand mixed with resin. Hit it with water and the resin cures hard, locking every joint tight.
Skip that step and water slips underneath. Joints widen by 1⁄4 inch in three to four weeks. Weeds follow. By 6 months, loose pavers can rock underfoot.
The fix is straightforward. Wait until the surface dries completely — 48 to 72 hours — then sweep fresh polymeric sand into every joint. Mist lightly to activate the binder. Done.
One detail people overlook: match the brand and color already in the joints whenever you can. Can’t identify it? Neutral gray blends with almost any paver tone.
Do I need to re-sand pavers after pressure washing?
Absolutely. Without re-sanding, the joints fail — fast. And once the joints go, everything else follows.
Think of it this way: washing pavers without re-sanding is like mopping a hardwood floor and leaving it soaking wet. Looks clean for a minute. Underneath, the damage is already starting.
The expense is modest. A 50-pound bag of polymeric sand runs $50–$150 and covers 300–500 square feet. Labor typically adds $150–$300. All in, you’re looking at a few hundred dollars.
Now compare that to the alternative. Skip the sand and joint repairs — or full paver replacement — can hit $2,000–$5,000 inside a year. You also need to respect the 48–72 hour dry window; wet pavers trap moisture and botch the resin cure.
One narrow exception exists: ultra-low pressure under 60 PSI with a surface cleaner, zero spray directed into the joints. Even then, inspect the joints after 24 hours. Any gaps? Re-sand immediately.
Side-by-side comparison
Sometimes the clearest view is a straight comparison. Pressure, time, cost, follow-up work — line them up and the differences jump out.
| Dimension | Concrete | Pavers |
|---|---|---|
| Pressure Setting | 3,000–4,000 PSI (high) | 60–80 PSI (very low) |
| Cleaning Speed | Fast (20–30 min per 100 sq ft) | Slow (45–60 min per 100 sq ft) |
| Post-Cleaning Work | None | Re-sanding (2–3 hours for 500 sq ft) |
| Material Cost | $0 (just water and detergent) | $150–$400 (polymeric sand for typical driveway) |
| Drying Before Use | 2–4 hours | 72 hours (must include re-sanding time) |
| Risk of Damage | Low (if PSI is correct) | High (if re-sanding is skipped) |
| Equipment Needed | Standard pressure washer | Pressure washer + surface cleaner attachment |
| Result Lifespan | 12–18 months | 18–24 months (if re-sanded correctly) |
| Skill Level Required | Intermediate | Advanced (due to pressure sensitivity) |
Which should you choose?
Got a solid concrete slab? Go with high-pressure washing. It’s faster, cheaper upfront, and demands zero follow-up work. Spray, rinse, done.
Working with individual pavers on sand? Low-pressure washing plus re-sanding is the only safe route. The process takes longer — you’ll wait 72 hours before normal use — but it locks the joints and stretches the surface’s lifespan considerably.
Skip both if your driveway is asphalt, the concrete is badly spalling, or the pavers are 20+ years old and never maintained. In those situations, aggressive washing can actually speed up deterioration rather than prevent it.
Budget-wise in Albany: concrete typically runs $150–$300 for a standard driveway. Pavers land at $300–$500 because re-sanding is baked in.
Hiring someone? Confirm re-sanding appears on the quote. Some contractors list cleaning only — then tack on sanding as a separate line item that nearly doubles the invoice.
- Concrete and pavers demand different PSI levels: 3,000–4,000 for concrete, 60–80 for pavers.
- Most paver damage happens after the wash, when re-sanding gets skipped; without it, joints widen by 1⁄4 inch in 3–4 weeks.
- Polymeric sand costs $50–$150 per bag and is essential for paver longevity; budget $150–$400 total for a typical driveway.
- Paver cleaning takes longer — including 48–72 hours of drying — but results can last 18–24 months when re-sanded correctly.
Common questions about concrete vs paver cleaning
What is the correct PSI for cleaning pavers?
Stay between 60–80 PSI, always with a surface cleaner attachment. Go past 100 PSI or swap in a concentrated jet nozzle and you’ll displace the stones and strip polymeric sand right out of the joints. Pavers rest on sand — there’s no slab underneath to absorb the force.
How to re-sand pavers after pressure washing step by step?
Let the surface dry fully — 48 to 72 hours. Then spread polymeric sand across the area with a push broom, packing it into every joint. Compact the sand down and mist lightly with water to trigger the resin binder. Give it a full 24 hours to cure before walking on it.
Can I pressure wash my concrete driveway at 4000 PSI?
Yes — 4,000 PSI is safe for most slabs in decent shape, provided the nozzle stays at least 12 inches from the surface. Already seeing spalling or pitting? Dial back to 3,000 PSI first. Concrete poured before 2005 is typically denser and handles the higher end better than modern air-entrained mixes.
Why do pavers shift after pressure washing and how do I fix it?
Shifting happens because the wash dislodges the polymeric sand that holds each joint together — and that sand also stabilizes the base layer beneath. Re-sand once the surface dries (48–72 hours) to lock everything back in place. Stones that moved more than 1⁄8 inch likely need base repair before re-sanding will help.
How much does paver cleaning and re-sanding cost?
Expect $300–$500 for a standard two-car driveway that includes re-sanding, based on 2026 pricing. Cleaning by itself runs $200–$350; re-sanding adds another $100–$200 depending on how much polymeric sand the joints need. To get an accurate figure, request pressure washing Albany NY quotes from several local contractors and compare.
How long does paver pressure washing actually take?
The wash itself: 1–2 hours for a standard two-car driveway at low PSI. Then add 48–72 hours of drying, plus 2–3 hours for the re-sanding work. Start to finish — from pulling the trigger to parking on it again — you’re looking at roughly four days.
The bottom line
Concrete and pavers are not interchangeable, and the cleaning method shouldn’t be either. High PSI for concrete. Low PSI plus re-sanding for pavers. That’s the whole formula.
Skimp on re-sanding and you’re setting a timer on expensive joint repairs. Do it right and the driveway holds its look for 18–24 months instead of crumbling after 12.
So start with the basics: figure out which surface you actually have. A hammer tap takes two seconds. Asking a local contractor does too. Either one prevents the kind of avoidable mistake that turns a $300 cleaning into a $3,000 headache.
For more specifics on your Albany property, explore driveway cleaning resources from local professionals who deal with both surfaces every day.
See also: driveway cleaning Albany NY
See also: remove oil stains concrete driveway
See also: driveway cleaning cost Albany NY
Related: driveway sealing after pressure washing
Related: remove road salt stains driveway
Related: pressure washing cost Latham NY
See also: driveway cleaning Albany NY
See also: roof cleaning Albany NY
See also: sidewalk cleaning cost Albany
See also: driveway cleaning Albany NY
See also: roof cleaning Albany NY
See also: sidewalk cleaning cost Albany